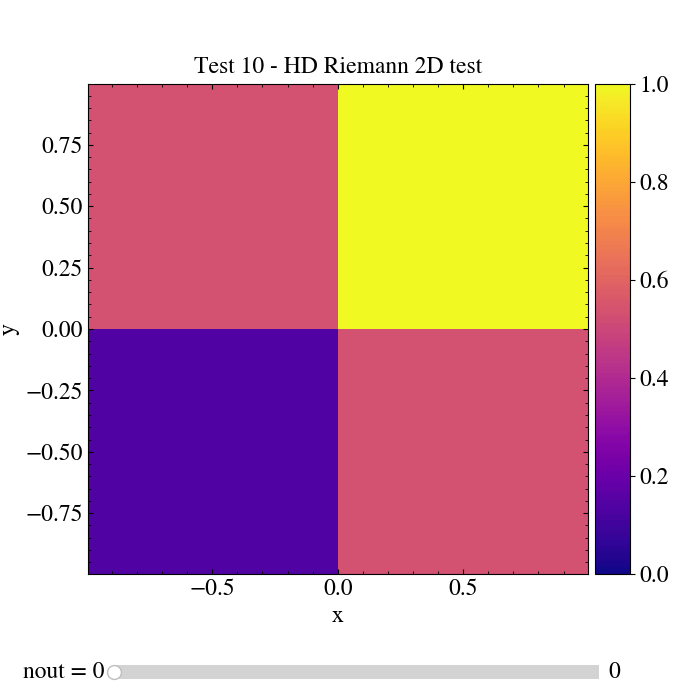
"""HD Riemann 2D test (configuration 3).

This test shows how to produce an interactive animation of a display.

The data are the ones obtained from the PLUTO test problem
$PLUTO_DIR/Test_Problems/HD/Riemann_2D (configuration 3).

The data is loaded into a pload object D and the Image class is created.
The interactive method is used to create an animation of sequential frames
made of 2D plots of the density. The animation is then saved as a .gif file.

IMPORTANT: In order to produce the frames of the interactive animation, the line
in pluto.ini file that determines the time at which a .vtk output file is
printed should be changed in

vtk       0.1  -1   multiple_files

in the static grid output section.

"""

# Loading the relevant packages
import pyPLUTO

# Set the relative path to the data folder
data_path = pyPLUTO.find_example("HD/Riemann_2D")

# Load data
Data = pyPLUTO.Load("all", datatype="vtk", path=data_path)

# Creating the image
Image = pyPLUTO.Image(figsize=[7, 7], nwin=10)

# Creating the interactive plot
Image.interactive(
    Data.rho,
    x1=Data.x1,
    x2=Data.x2,
    cpos="right",
    vmin=0,
    vmax=1.0,
    title="Test 10 - HD Riemann 2D test",
    xtitle="x",
    ytitle="y",
)

# Saving the gif of the animation
Image.animate("test10_riemann2d.gif", script_relative=True)
 """HD Riemann 2D test (configuration 3). This test shows how to produce an interactive animation of a display. The data are the ones obtained from the PLUTO test problem $PLUTO_DIR/Test_Problems/HD/Riemann_2D (configuration 3). The data is loaded into a pload object D and the Image class is created. The interactive method is used to create an animation of sequential frames made of 2D plots of the density. The animation is then saved as a .gif file. IMPORTANT: In order to produce the frames of the interactive animation, the line in pluto.ini file that determines the time at which a .vtk output file is printed should be changed in vtk 0.1 -1 multiple_files in the static grid output section. """ # Loading the relevant packages import pyPLUTO # Set the relative path to the data folder data_path = pyPLUTO.find_example("HD/Riemann_2D") # Load data Data = pyPLUTO.Load("all", datatype="vtk", path=data_path) # Creating the image Image = pyPLUTO.Image(figsize=[7, 7], nwin=10) # Creating the interactive plot Image.interactive( Data.rho, x1=Data.x1, x2=Data.x2, cpos="right", vmin=0, vmax=1.0, title="Test 10 - HD Riemann 2D test", xtitle="x", ytitle="y", ) # Saving the gif of the animation Image.animate("test10_riemann2d.gif", script_relative=True)